
A chain that chatters across the cassette, skips under pressure or refuses to reach an easy climbing gear can turn a good ride into a frustrating one. Learning how to adjust bike gears helps you spot a simple cable issue before it becomes a worn drivetrain, damaged derailleur or an unexpected walk home.
Most shifting problems are fixable with a few careful turns, but adjustment only works when the parts are clean, straight and in reasonable condition. Start slowly, make one change at a time and test every gear. Smooth, reliable shifting is the goal - not simply getting the chain into the biggest or smallest sprocket once.
Before you adjust bike gears, check the basics
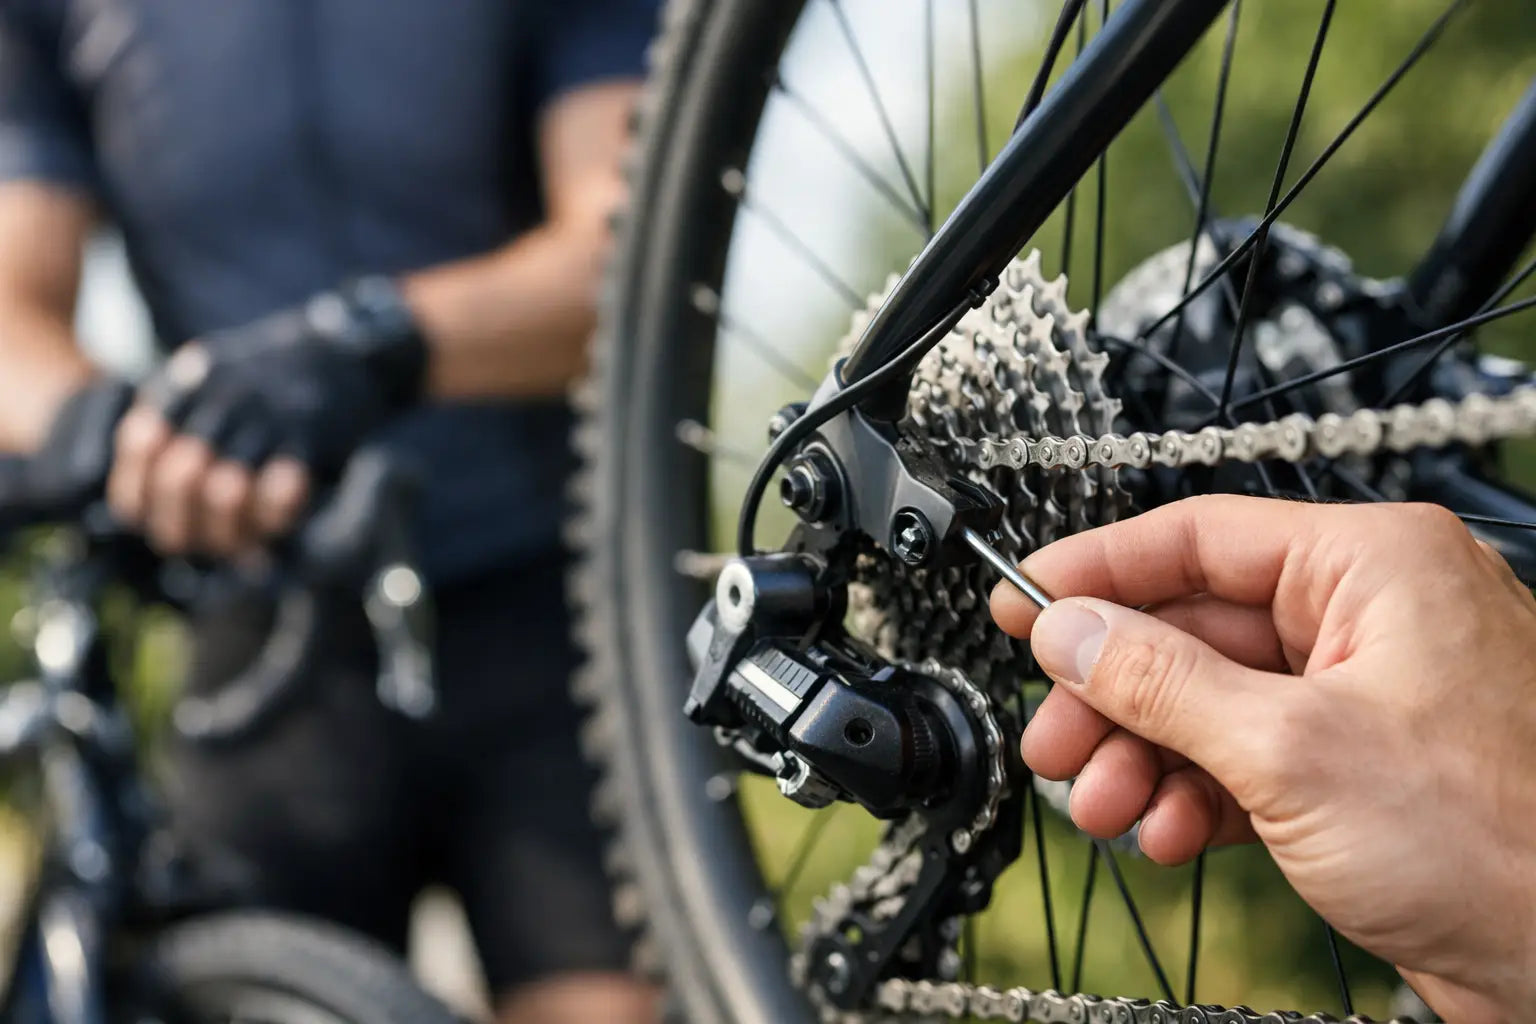
Put the bike in a workstand if you have one, or lift the rear wheel safely so the pedals can turn freely. Switch off an e-bike before working near the drivetrain. You will usually need no more than a clean rag, degreaser, chain lubricant and possibly a small cross-head screwdriver. A 5 mm Allen key may be useful if the cable needs replacing or the derailleur needs checking.
First, clean the chain, cassette and jockey wheels. Dirt can mimic a gear-adjustment fault by stopping the chain from settling cleanly on each sprocket. Wipe the drivetrain dry, then apply a small amount of suitable chain lube to the rollers. Too much lubricant attracts grit, so wipe off the excess.
Next, inspect the obvious wear points. A rusty or frayed inner cable will not move freely, and cracked cable housing creates drag. Look at the derailleur hanger from behind the bike: the rear derailleur should hang vertically beneath the cassette. Even a small knock from a fall, bike rack or transport can bend the hanger and make accurate adjustment impossible.
If the chain skips only when you push hard on the pedals, particularly in your most-used gears, cable tension may not be the problem at all. A worn chain and cassette often cause that symptom. Forcing an adjustment can make shifting worse elsewhere.
Understand what each adjustment does
Your rear derailleur moves the chain across the cassette. The shifter pulls cable to move towards the larger sprockets, creating easier gears for hills. Releasing cable moves the chain towards smaller sprockets for harder, faster gears.
The barrel adjuster controls cable tension in tiny increments. It is normally found where the cable enters the rear derailleur, although some bikes have an additional adjuster at the shifter. Turning it anti-clockwise adds tension. Turning it clockwise releases tension.
The two limit screws do something different. They set the outer boundaries of derailleur travel. One prevents the chain dropping beyond the smallest sprocket towards the frame; the other prevents it travelling past the largest sprocket into the spokes. They are safety settings, not general tuning screws.
A third screw, often marked B, controls the gap between the upper jockey wheel and the cassette. It matters most on modern wide-range cassettes. If that gap is wrong, the bike may shift poorly at the largest sprocket even with correct cable tension.
Adjust the rear gears step by step
Shift the chain onto the smallest rear sprocket. This is the starting point because the cable is at its slackest. Check that the derailleur’s upper jockey wheel lines up directly beneath that smallest sprocket. If it sits too far in or out, use the high-limit screw in very small increments. Turn the pedals by hand as you test. The chain should run quietly without trying to climb off the sprocket.
Now shift up one click towards the second-smallest sprocket. If the chain hesitates, rattles or will not climb, add cable tension by turning the barrel adjuster anti-clockwise by a quarter turn. Pedal a few rotations and test again. Repeat only as needed.
If the chain overshifts, tries to climb two sprockets, or struggles to return to a smaller sprocket, there is too much cable tension. Turn the barrel adjuster clockwise by a quarter turn. Small corrections are more accurate than a full turn, and they make it easier to understand the result.
Once the second sprocket engages cleanly, shift through the full cassette one gear at a time. Listen for noise and watch whether the chain lands promptly on each sprocket. Then shift back down. A well-set rear derailleur should move crisply in both directions without a long pause, excessive clicking or a need to ease off the pedals more than normal.
At the largest sprocket, check the low-limit screw. The jockey wheel should sit directly below the sprocket, and the chain must not be able to move into the spokes. If it will not reach the biggest sprocket after correct cable tension is set, slightly loosen the low-limit screw. If it looks capable of travelling too far towards the wheel, tighten it. Make adjustments in eighth- or quarter-turns only.
Finally, inspect the gap between the top jockey wheel and largest sprocket. If the wheel is almost touching the cassette, or sitting unusually far away, adjust the B screw according to the derailleur manufacturer’s guidance. This setting varies between drivetrains, especially on wide-range mountain-bike and e-bike cassettes.
Setting up front gears on a double or triple chainset
Many newer bikes use a single front chainring, so there is no front derailleur to adjust. If your bike has two or three chainrings, front shifting needs a little more care because a dropped chain can damage the frame or leave you stranded.
Shift to the smallest front chainring and the largest rear sprocket. Check that the front derailleur cage clears the chain without rubbing. The inner limit screw controls how far inward the cage can travel. Adjust it gradually until the chain stays on the small ring while the cage sits close enough to guide it reliably.
Then shift to the largest front chainring and smallest rear sprocket. Use the outer limit screw to stop the chain being pushed off the outside of the big ring. The outer plate of the derailleur cage should sit very close to the chain, but not touch it.
Cable tension affects whether the chain climbs smoothly to the larger front ring. If it hesitates, add a small amount of tension. Do not try to solve front-derailleur rubbing in every rear gear by endlessly turning screws. Some chain angles create a little noise, particularly when cross-chaining. Avoid using the smallest front ring with the smallest rear sprockets, or the largest front ring with the largest sprockets, where possible.
When an adjustment will not fix the problem
A gear tune cannot correct worn, bent or incompatible parts. If barrel adjustments seem to improve one end of the cassette but ruin the other, suspect a bent derailleur hanger. If the chain jumps under load but shifts cleanly in the stand, measure chain wear and inspect the cassette teeth. Hooked, sharp-looking teeth are a common sign that the cassette has reached the end of its useful life.
Stiff chain links, damaged jockey wheels, contaminated internal cable routing and loose rear-wheel axle fittings can also create inconsistent shifting. On bikes with a through-axle or quick-release wheel, make sure the wheel is fully seated in the dropouts before any adjustment. A wheel that is slightly out of position changes the relationship between cassette and derailleur.
E-bikes deserve particular attention. Motor torque puts extra load through chains, cassettes and derailleur systems, especially if you change gear while applying heavy pedal pressure. Ease off briefly as you shift, keep the drivetrain clean and replace a stretched chain early. It is less costly than allowing a worn chain to take the cassette and chainring with it.
Know when to book a workshop tune
Home adjustment is ideal for minor cable stretch after a new cable or a few months of riding. Stop and seek help if the derailleur has met the spokes, the hanger looks bent, the cable is fraying, gears jump under load, or you are unsure about limit screws. Those are small faults with potentially expensive consequences.
A professional drivetrain tune checks alignment, cable condition, chain wear, cassette wear and indexing together, rather than treating the most obvious noise in isolation. The Bike Shack can set up the shifting, identify the parts worth replacing and get the bike ready for dependable commuting, weekend miles or an assisted ride uphill.
Take a short test ride after any adjustment, using light pedal pressure as you work across the cassette. The right setting should feel almost unremarkable: one click, one gear, and more attention left for the road ahead.