
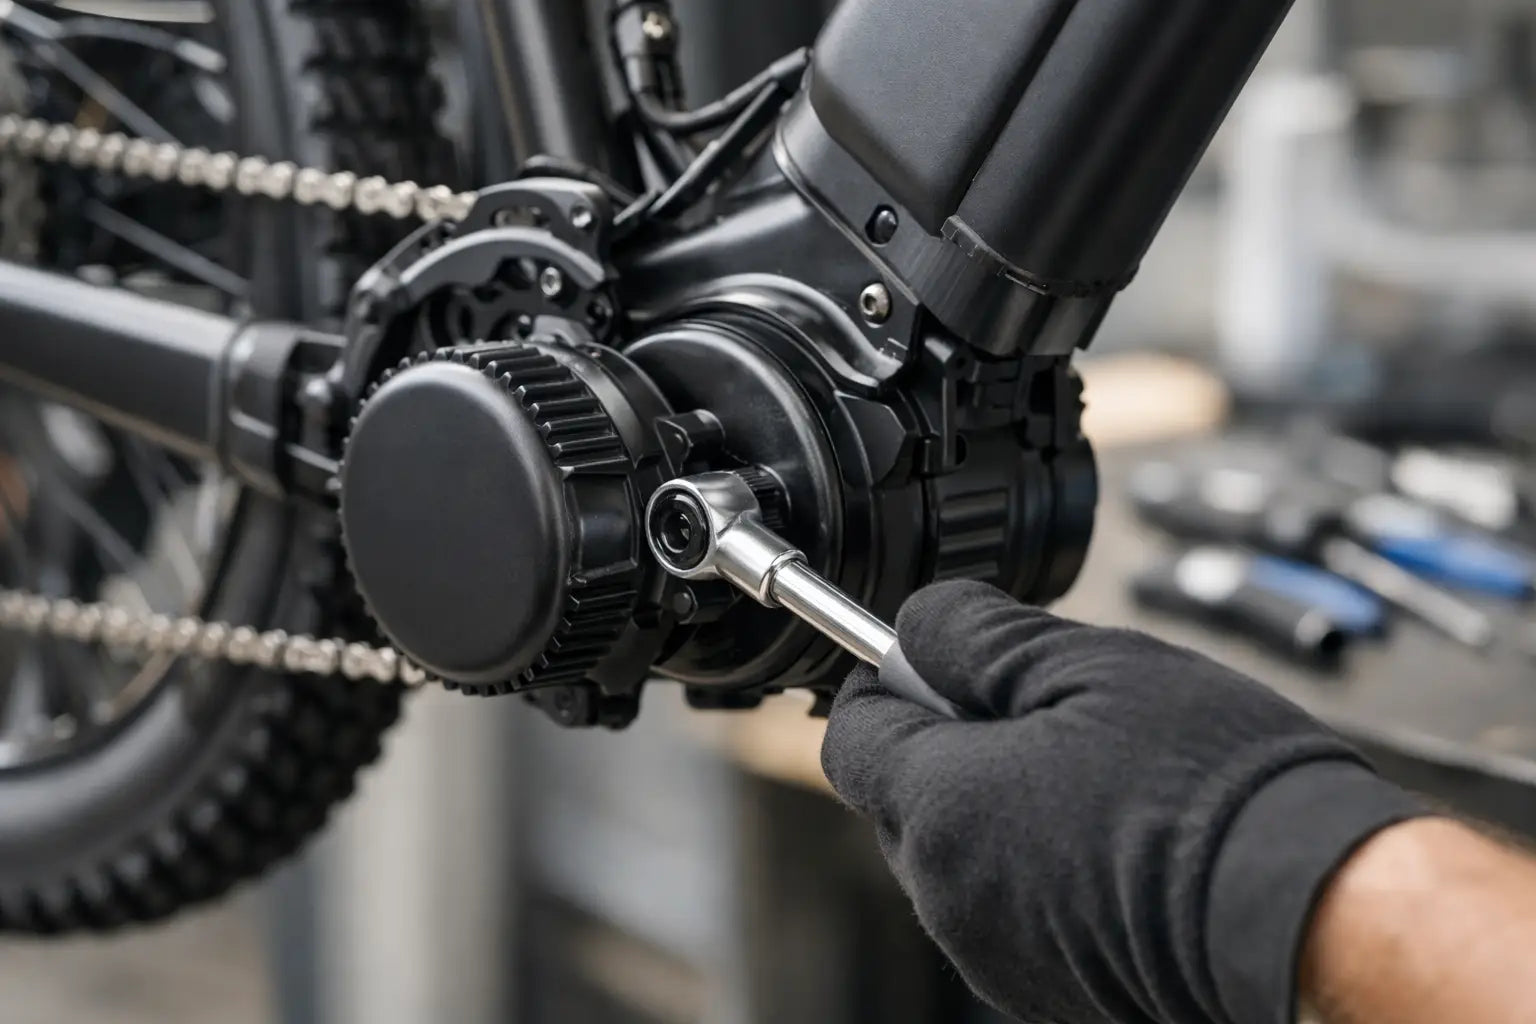
A Bafang mid drive installation can turn a bike you already enjoy riding into a capable commuter, hill climber or load-hauler. But the motor is only as good as the bike, fitment and set-up around it. Get those details right and you gain natural-feeling assistance, useful range and dependable day-to-day power. Rush them and you can create noise, poor chain line, loose fittings or a bike that simply does not ride as it should.
Start with the bike, not the motor
Mid-drive conversions put power through the chain, cassette and rear wheel. That is why they feel lively on climbs and make efficient use of the bike’s gears. It is also why the donor bike needs a proper assessment before any parts come out of the box.
A well-maintained hardtail, hybrid, commuter or sturdy touring bike is often an excellent candidate. Check the frame for cracks, corrosion and damaged threads, particularly around the bottom bracket and rear dropouts. Inspect the wheels for loose spokes, worn rims and bearing play. Electric assistance adds speed and load, so brakes, tyres and wheels need to be ready for the job.
The Bike Shack treats a conversion as a complete bike upgrade, not a motor bolted into a frame. A stretched chain, skipping cassette or tired brake pads may have been manageable before, but they will not improve with more torque going through the drivetrain.
Confirm bottom bracket compatibility
Most Bafang BBS-series units are designed around a conventional threaded bottom bracket shell, commonly 68-73 mm wide. Measure the shell accurately after removing the existing crankset and bottom bracket. The internal diameter, shell width, thread condition and available clearance all matter.
A wider shell, unusual frame shape, press-fit bottom bracket or full-suspension pivot arrangement does not automatically rule out a conversion, but it changes the plan. Spacers, fitting hardware or a different system may be needed. Never force a motor into a frame that does not properly support it. The mounting plate must sit squarely, and the motor housing must clear the chainstay through the full suspension movement where applicable.
Choose power that suits the rider
Motor choice is not just about the biggest wattage figure. A lighter commuter who wants help into a headwind has different needs from a rider carrying cargo up steep roads. Battery capacity, rider weight, terrain, local e-bike rules and expected daily distance all shape the right specification.
Higher-output systems can be hugely useful, but they increase demand on the chain, sprockets, brakes and battery. For many riders, a sensibly configured motor with a quality battery is the better long-term choice than chasing maximum power.
Prepare the workshop and the parts
A clean, stable workstand makes installation safer and far more accurate. You will normally need the correct crank puller and bottom bracket tools, hex keys, a torque wrench, cable cutters, tyre levers and a method for checking chain wear. Have the Bafang mounting hardware, display, speed sensor, battery mount, wiring extensions if required and suitable chainring ready before starting.
Before installation, photograph the original cable routing and measure the existing chain line. It gives you a useful reference when deciding where the new harness, speed sensor and battery cables will sit. Keep wires away from tyre spray, sharp edges, suspension movement and the chain.
Battery placement deserves thought early. A downtube-mounted battery usually keeps weight low and central, giving the most predictable handling. Confirm that it clears bottle-cage bolts, cables and the front wheel at full steering lock. A rack battery can be practical for certain frames, but it places more weight behind the rider and can affect handling when loaded.
Bafang mid drive installation: the mechanical fit
Remove the pedals, cranks, front derailleur if fitted, bottom bracket and associated cabling with care. Clean the bottom bracket shell thoroughly. Dirt or damaged threads can stop the motor sitting flush and may lead to a loosening problem later.
Slide the motor spindle through from the drive side, keeping the main housing tucked as close to the frame as clearance allows. On the non-drive side, fit the mounting plate and lock rings in the specified order for the motor. The plate needs to bite securely against the frame rather than merely appearing tight.
Tighten the lock rings to the manufacturer’s torque specification using the correct tool, then check the motor cannot rotate under hand pressure. A loose motor can damage the frame finish, alter chain line and place strain on the wiring. Recheck this fastening after the first few rides, as components can settle.
Get the chain line right
Chain line is one of the most overlooked parts of a Bafang conversion. The chainring must guide the chain cleanly across the cassette without extreme angles in the gears you use most. A poor chain line creates noise, accelerates wear and can encourage chain drops under load.
Fit the chainring and inspect alignment from behind the bike. Some frames benefit from an offset chainring, while others have enough clearance and alignment with the standard option. There is no universal answer: chainstay shape, cassette range and rear hub spacing all influence the result.
Fit a new chain if the old one is worn, then adjust the rear derailleur carefully. Under motor power, hesitant shifting becomes more obvious. The gears should select cleanly, and the chain should not climb, chatter or skip when you apply firm pedal pressure.
Fit the controls and electrical system
Mount the display where it is easy to read without forcing an awkward wrist position. Place the control pad where your thumb can use it safely while keeping a secure grip on the bar. Brake cut-off sensors, if used, need reliable positioning and should be tested before the bike leaves the stand.
Route the main wiring harness along existing cable paths where possible. Use frame-safe protection under ties or clamps, and leave a small amount of slack at the handlebar so steering remains unrestricted. Connect colour-coded plugs gently and align them properly. Do not twist, force or pull electrical connectors by their cables.
Install the speed sensor at the rear stay with the magnet passing at the specified distance. An inaccurate sensor position can cause intermittent assistance or incorrect speed readings. Secure the battery mount using suitable bolts and confirm the battery locks firmly with no movement on rough ground.
Set up assistance for the way you ride
Once the mechanical work is complete, power up the system with the rear wheel clear of the ground. Check the display, speed reading, pedal assistance response, brake cut-offs and lighting connections where fitted. Listen for rubbing, clicking or a chain line issue before the first road test.
Start conservatively with assistance settings. A lower level is often enough for flat commuting and keeps the ride smooth, efficient and easier on the drivetrain. Increase support for hills, cargo or longer journeys as needed. If your system allows configuration, avoid changes that exceed local legal limits or place unnecessary stress on components.
The first ride should be a controlled check, not a full-power sprint. Test every gear under light load, then progressively apply more assistance. Brake firmly from a safe speed, listen for motor movement in the bottom bracket area and make sure cables remain clear through turns. After the ride, inspect all mounting points and recheck critical torque settings.
When professional installation is the smarter route
Confident home mechanics can complete a straightforward conversion on a compatible bike. Even so, professional fitting is worthwhile when the frame has unusual dimensions, the drivetrain is worn, the battery fit is tight or you want the conversion tuned around a specific commute.
A workshop can assess the wheel strength, brake performance, chain line and cable routing as one system. It can also identify issues that do not show up on a workstand, such as a freehub slipping under torque or a wheel pulling out of true under extra load. That attention protects both the investment and the ride.
Keep the converted bike performing properly
Electric assistance does not remove the need for maintenance. Clean and lubricate the chain regularly, check chain wear sooner than you would on an unassisted bike and keep the cassette and chainring free from heavy grime. Inspect the lock rings, crank bolts and battery mount periodically, especially after bumpy roads or trail use.
Brakes deserve equal attention. More speed and more bike weight mean pads, rotors and tyre condition need regular checks. A conversion should feel confidence-inspiring when accelerating and equally controlled when stopping.
The best Bafang conversion feels like your bike, only more useful. Take the time to fit it accurately, tune it for your real routes and look after the parts that carry the power. Every ride will repay the effort.