
A mid-drive conversion can turn a bike you already trust into a capable commuter or hill-climbing machine. But knowing how to install a mid-drive is not simply a case of replacing the bottom bracket and plugging in a battery. Frame compatibility, chainline, cable routing and secure motor mounting decide whether the finished bike feels refined or becomes an expensive source of noise, wear and unreliable assistance.
This is a practical job for a confident home mechanic with the right tools, a clean workspace and patience. If your bike has an unusual bottom bracket, internal routing, carbon frame parts or costly components, professional fitting is usually the smarter investment.
Start with compatibility, not the kit box
Most popular mid-drive kits from Bafang, Tongsheng and similar systems replace the existing bottom bracket. That means the first measurement is not wheel size or tyre width. It is your bottom bracket shell.
Measure the shell width and inside diameter once the crankset and bottom bracket are removed. Many kits are designed around a standard threaded 68-73 mm shell, while wider shells, press-fit systems, fat-bike frames and some full-suspension bikes may need a specific motor version, adaptors or a different plan altogether. Never assume a motor will fit because the bike has a conventional-looking crankset.
Look closely at the space beneath the bottom bracket too. A mid-drive motor hangs below and forward of the shell. It needs clearance from the chainstay, down tube, suspension linkage and any frame-mounted cable guides. On some frames, the motor body sits at an awkward angle or cannot rotate fully into position. Forcing it can damage the frame, crush cables or leave the motor unable to be tightened correctly.
Battery placement deserves the same attention. A down-tube battery keeps weight low and central, but bottle-cage bosses must be strong, correctly positioned and clear of cables. Step-through frames, small sizes and bikes with rear suspension can require a rear-rack battery or a custom mounting solution. A battery must never be secured with cable ties alone.
Tools and parts for installing a mid-drive
Have the installation hardware ready before stripping the bike. Exact tools vary by crank and bottom bracket type, but a typical conversion needs:
- Crank puller or self-extracting crank tool, plus the correct bottom bracket removal tool
- Allen keys, torque wrench and sockets suitable for the motor lockrings
- Cable cutters, quality cable ties, electrical tape or protective cable wrap
- Chain tool and, where needed, a new chain, cassette and chainring
- Grease, degreaser and a clean rag
How to install a mid-drive motor correctly
Remove the original drivetrain parts
Shift the chain onto the smallest front chainring and smallest rear sprocket to reduce tension. Remove the pedals, crank arms, front derailleur if fitted, and bottom bracket. On a multi-chainring bike, the front shifter and cable can normally be removed as well, leaving a cleaner cockpit.
Use the proper extraction tools. Levering crank arms or attacking a seized bottom bracket with improvised tools can damage threads and alloy frame surfaces. Once the shell is empty, clean it thoroughly and inspect the threads. A shop should deal with crossed threads, corrosion or a press-fit shell that does not match the kit.
Check the rest of the drivetrain while it is exposed. A mid-drive sends motor torque through the chain, cassette and rear derailleur, so a worn chain or hooked sprockets will show their age quickly. Replacing tired transmission parts before conversion is better value than fitting a new motor to a worn-out drivetrain.
Fit and align the motor
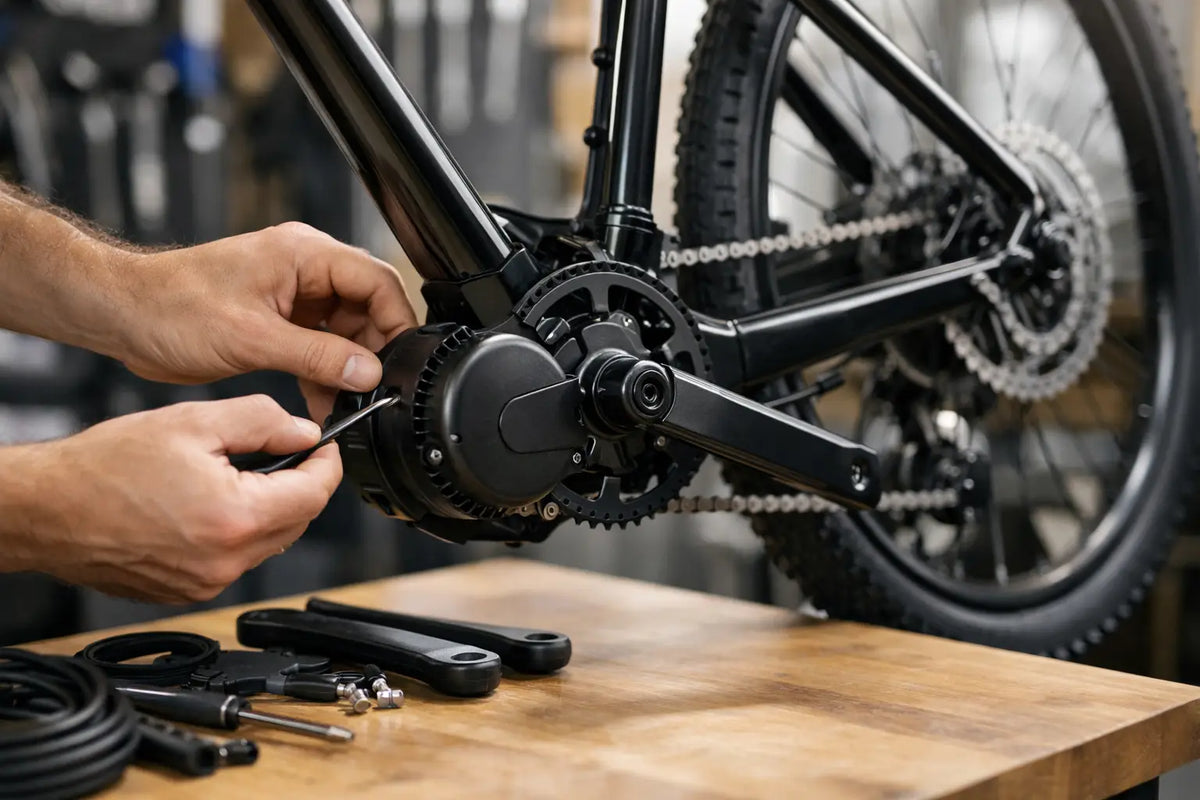
Lightly grease compatible threaded surfaces as specified by the kit manufacturer. Slide the motor spindle through the bottom bracket shell from the drive side, carefully guiding any cables so they are not pinched between the motor and frame.
Rotate the motor into its final position. It should sit firmly against the bottom bracket area without stressing the casing or interfering with the frame. Fit the mounting plate and lockrings in the stated order, then tighten them to the manufacturer’s torque specification. This is one of the steps that matters most. An under-tightened motor can twist under load, damage wiring and create a creak. Over-tightening can harm threads or components.
Once secure, fit the supplied chainring and crank arms. Confirm the crank bolts are torqued correctly and the pedals are installed on the correct sides. Remember that the left pedal has a reverse thread.
Set the chainline before riding
A mid-drive chainring often sits differently from the original chainset. Sight along the chain from the front ring to the cassette. In the middle sprockets, it should run as straight as practical without rubbing the tyre, chainstay or motor casing.
Some bikes need an offset chainring to improve alignment. Others work best with a cassette that offers a more useful spread of gears rather than an extremely wide range. There is always a trade-off: a chainline optimised for climbing gears may be less tidy in the highest gears. What matters is quiet running and reliable shifting in the ratios you use most.
Install a new chain if the old one is worn, then size it correctly with the rear derailleur in its largest sprocket. Test every gear by turning the cranks by hand. Adjust the derailleur limits and indexing now, rather than hoping they will settle on the road.
Mount the battery and route the controls
Fit the battery bracket to solid mounting points using the supplied bolts and any approved reinforcement hardware. The battery should lock positively, stay clear of the front wheel at full steering lock and be easy to remove for charging. Protect the frame under brackets and cable contact points with clear frame tape or suitable guards.
Route motor, speed-sensor, display and brake-cut-off cables along existing frame lines where possible. Leave enough slack at the handlebars for full steering movement, but not so much that loops can catch on clothing, branches or the front wheel. Secure cables without crushing them. Avoid sharp bends, the chainring, suspension movement and hot braking surfaces.
Fit the display where you can read it without taking your eyes far from the road. Controls should be reachable without shifting your grip. If your kit uses brake cut-offs, make sure they activate before the brakes are fully applied and that all connectors are fully seated and aligned. Never force a connector that does not line up.
A wheel speed sensor must be positioned to the manufacturer’s specified gap from its spoke magnet. If it sits too far away or the magnet passes the wrong point, assistance can cut in erratically or not at all.
Test safely, then tune for real riding
Before the first powered ride, lift the driven wheel if practical and check that the display starts, the speed reading works and the motor responds normally to pedal input. Spin the cranks and listen for rubbing, clicking or a chain that climbs poorly across the cassette. Check that the brakes stop the wheel cleanly and that the battery is locked in place.
Your first road test should be short, quiet and away from traffic. Start in a low assistance level and use an easy gear. Mid-drives reward sensible shifting: ease off pedal pressure briefly before changing gear, then select a lower gear before steep climbs. Pushing full motor power through a badly selected gear is hard on the chain and cassette.
After ten to fifteen minutes, stop and inspect the installation. Check motor lockrings, crank bolts, battery mount, cable ties and chainline. Recheck these fasteners after the first few rides, as parts can settle into place.
For UK road use, ensure the finished e-bike meets the applicable electrically assisted pedal cycle rules. Settings, rated power, throttle operation and assistance cut-off speed all matter. High-power or incorrectly configured kits may be suitable only for private land or may require registration, insurance and other legal steps. Do not rely on a kit’s marketing description alone.
A properly fitted mid-drive should feel like your own bike, only more willing on headwinds, loaded commutes and long climbs. If shifting is rough, the motor moves in the shell, cables are exposed or the frame fit looks compromised, stop riding and get it checked. The Bike Shack can help turn a promising conversion into a safe, dependable bike you will want to ride every day.