
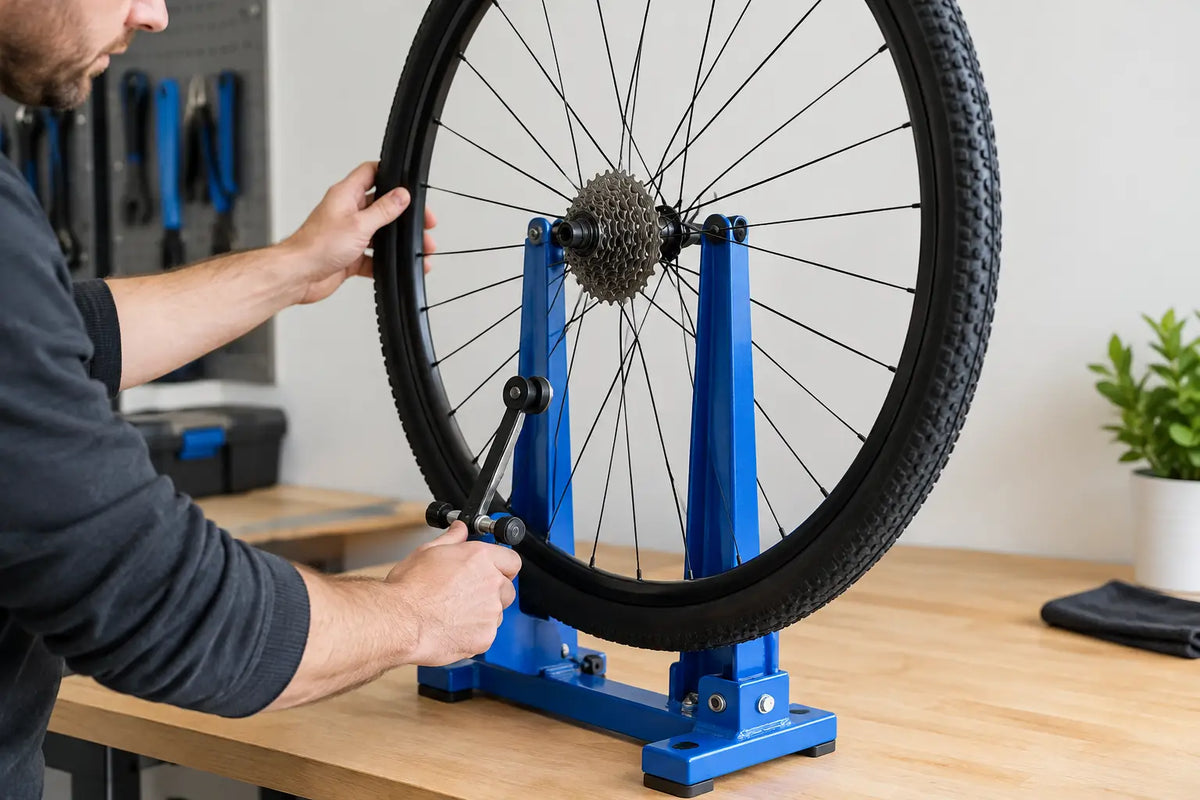
A wheel that rubs the brake pads once per revolution can make an otherwise reliable bike feel rough, slow and unsafe. Learning how to true a bicycle wheel helps you spot minor problems early, but it is a precision job, not a case of tightening every loose-looking spoke. The goal is a wheel that runs straight, stays centred in the frame, and carries even enough tension to remain strong under load.
What wheel truing actually fixes
Wheel truing corrects small side-to-side movement, known as lateral wobble, and up-and-down movement, known as radial hop. It can also bring the rim back towards the centreline of the hub, called dish. A properly tensioned wheel shares the rider’s weight and road impacts across all its spokes instead of asking a few spokes to do all the work.
A slight wobble is not always an emergency, especially on a rim-brake-free bike with generous tyre clearance. But a wheel that catches the brakes, has several loose spokes, makes pinging noises, or has developed a crack around a spoke hole needs attention before the next commute or longer ride. On e-bikes and converted bikes, the extra weight and motor torque make good wheel tension even more important.
Truing will not repair a badly dented, split or worn-out rim. Nor will it solve worn hub bearings, a bent axle, or a tyre that has not seated evenly. Check those first, otherwise you may spend time adjusting spokes to chase a problem elsewhere.
Tools for truing a bicycle wheel
The best setup is a dedicated truing stand, a spoke key that precisely fits your spoke nipples, and a tension meter. A dishing gauge is useful when you are building wheels or correcting a significant knock. For a straightforward home adjustment, you can use the bike itself as a stand and use the brake pads, a cable tie, or a carefully positioned pointer as a reference.
Do not use an adjustable spanner or pliers on spoke nipples. Rounded nipples are difficult to adjust and may turn a quick repair into a rebuild. A drop of light oil at the nipple-rim interface can help on a conventional wheel, but keep lubricant well away from brake tracks, discs and pads.
Before you begin, remove any luggage and make sure the tyre is properly inflated. Spin the wheel and watch the gap between the rim and the brake pad, fork, frame, or pointer. Look at the rim itself, not the tyre, because tyre mould lines and uneven seating can be misleading.
How to true a bicycle wheel step by step
1. Find and mark the worst point
Spin the wheel slowly and identify where the rim moves closest to one side. Mark that point with a small piece of masking tape. Then find the centre of the affected area, usually spanning two to four spokes. Work from the centre outwards rather than adjusting a single spoke aggressively.
If the rim moves towards the left, it needs pulling back to the right. Tighten the spokes that run from the right-hand hub flange to the rim in that area. Alternatively, you can loosen the left-side spokes slightly, but tightening is generally preferable if overall tension is low. If tension is already high, a balanced combination of a small tighten on one side and a small loosen on the other may be safer.
2. Make tiny, measured adjustments
Place the spoke key fully onto the nipple. Looking directly at the nipple from the rim side, clockwise tightens and anticlockwise loosens. Start with no more than a quarter turn. On a minor wobble, an eighth turn may be enough.
For a lateral correction, tighten the central spoke on the side you want the rim to move towards by a quarter turn. Tighten the neighbouring spokes on the same side by an eighth turn if needed. Spin the wheel again after every small sequence. It is slower than forcing the rim into line, but it protects the rim and maintains a more even tension pattern.
Avoid correcting a large wobble by tightening only one spoke. That creates a tension spike, can pull the rim into a flat spot, and makes spoke breakage more likely later. Strong wheels are the result of balanced tension, not merely a rim that looks straight in the stand.
3. Correct radial hop with care
A radial hop appears as a high or low section of the rim as it spins. To pull a low section outwards towards the hub, loosen spokes equally on both sides in that area. To pull a high section towards the hub, tighten spokes equally on both sides. Make adjustments across a wider area than you would for a lateral wobble, using very small turns.
Radial correction is where home mechanics can get into trouble. A pronounced hop can indicate an impact-damaged rim, and aggressive tightening may crack it at the spoke holes. If the wheel has a sharp dent or requires repeated half turns to improve, stop and have the rim assessed.
4. Recheck tension and dish
Once the wheel runs acceptably straight, squeeze pairs of parallel spokes between your fingers around the wheel. They should feel broadly consistent, allowing for the normal difference between drive-side and non-drive-side tension on a rear wheel. A spoke that feels dramatically slacker than its neighbours deserves attention, even if the rim currently appears true.
A tension meter gives a far more reliable reading, particularly for modern aluminium rims, aero spokes and e-bike wheels. It helps identify spokes that are too tight as well as too loose. Excessive tension can pull nipples through the rim or cause cracks, while low tension lets spokes unload and loosen during riding.
Check dish by turning the wheel around in the frame or fork. If the rim sits closer to a brake pad after reversing the wheel, it is not centred. Correcting dish means adjusting tension across an entire side of the wheel in small, even increments. This is usually best handled with a dishing gauge or by a workshop, because a wheel can be straight but still off-centre.
5. Stress-relieve and make a final pass
Newly adjusted spokes can settle as they twist and bed into the hub and rim. Stress-relieving helps that settling happen before your ride rather than halfway through it. Firmly squeeze pairs of crossing spokes all around the wheel, or gently press the rim against a protected workbench surface while rotating it. Do not lean your full body weight on a lightly built wheel.
Spin the wheel again, check lateral wobble, radial movement and spoke feel, then refit or centre the brakes if required. A wheel does not need laboratory-level perfection for everyday riding. It does need adequate clearance, sensible tension and no obvious damaged components.
Common truing mistakes to avoid
The most common mistake is turning nipples too far. A quarter turn can make a visible difference, particularly on a small wheel or a wheel with high spoke tension. Another is confusing a loose spoke with a broken wheel: one loose spoke may be the symptom of several uneven spokes, a damaged nipple, or a rim that has reached the end of its service life.
Also resist the urge to true a dirty wheel without inspection. Clean the rim enough to see cracks, corrosion and dents. On rim-brake wheels, inspect the braking surface for wear indicators or a concave profile. On disc-brake wheels, remember that brake rub may come from a warped rotor rather than the wheel itself.
Finally, do not judge success only by the absence of wobble. A perfectly straight wheel with wildly uneven tension will soon drift out of true again. Reliability comes from the relationship between rim condition, spoke tension, hub health and correct wheel build.
When a workshop is the safer choice
Book a professional wheel true or spoke repair if the rim is cracked, several spokes are loose or broken, nipples are seized, the wheel has a major dent, or the hub has play. The same applies if you have a heavy-duty cargo bike, a powerful conversion kit, or an e-bike wheel that sees high mileage and load. These wheels benefit from measured tension and a careful check of spoke pattern, rim rating and axle hardware.
The Bike Shack can assess whether a wheel needs a straightforward true, a replacement spoke, a hub service or a rebuild with a stronger rim. That distinction matters: paying for repeated adjustments on a fatigued rim is poor value, while a timely spoke repair can prevent a much larger failure.
A little patience is the most useful tool on the bench. Make small adjustments, recheck often, and stop when the wheel tells you it needs more than a minor correction. A well-trued wheel rewards that care with quieter rides, steadier braking and confidence every time you set off.